
Ok, so here's the tutorial that I promised to post before the weekend! ☺

1) Vad man behöver för att ta bort gammalt gellack. Bomullsrondeller, aceton och aluminium folie (man kan köpa speciell "remover" till gellack men jag anser att det är dyrt och onödigt).
2) Dränk bomullen i aceton, lägg på nageln och rulla aluminiumfolie runt fingret.
3) Låt verka i ca. 15 min. tills nagellacket släppt och går att skrapa av (tog tyvärr inga bilder på detta).
1) What you need to get rid of old gelpolish, cotton, acetone and aluminium foil (you can buy special "gelpolish remover" but I find that both expensive and unnecessary).
2) Soak the cotton in acetone and wrap the aluminium foil tightly around each finger.
3) Let soak for about 15 mins. or until the gelpolish has lifted from your nail and is ready to be scraped off.

4) Jag använder alltid "cuticle remover" innan jag målar naglarna för att få bort torra nagelband (detta får också naglarna att se längre ut). Stryker på ett lager runt nagelbanden och skrapar bort överflödig hud med det lilla verktyget på bilden (vet inte vad det kallas).
5) Blöt en bit bomull/non woven swabs med "före/efter rengöring" och stryk på naglarna (tog ingen bild på detta). Börja med ett lager baslack.
6) Låt härda i LED-lampan i 1min (det står 30sek på boxen men jag tyckte att en minut fungerade bättre).
7) Gör tummen för sig.
4) I always use cuticle remover before I paint my nails in order to get rid of dry cuticles (this will also make your nails look longer).
5) Soak a piece of cotton/non woven swabs with "before/after cleaner" and clean your nail (I didn't get a picture of this). Start with one coat of basecoat polish.
6) Let it harden under the LED-light.
7) Do your thumb separately.

8) Välj vilken färg du vill ha, i mitt fall Orly's "kiss the bride". Måla ett tunt lager.
9) Låt härda i lampan.
10) Gör tummen separat.
→ Gör om dessa steg en eller två gånger till så att du får två eller tre lager med önskad färg.
8) Choose your color, in my case Orly's "kiss the bride". Paint one thin coat.
9) Let harden under the light.
10) Do your thumb separately.
→ Do these steps one or two more times so that you have two or three coats of colored polish.
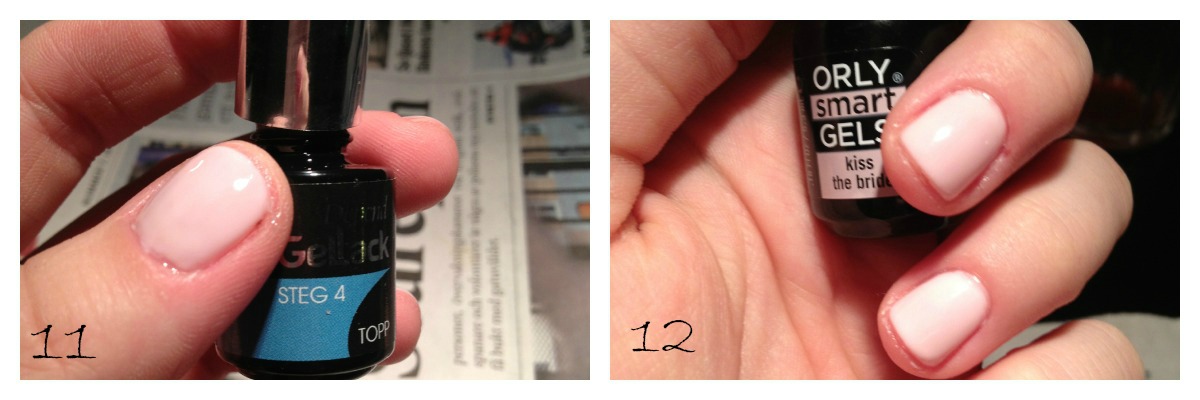
11) Måla ett lager topplack, härda under lampan (som i tidigare steg, gör tummen separat).
12) Torka av naglarna med "före/efter rengöring" och , voilà! Klart! Och manikyren håller i 2-3 veckor. ☺
11) Paint one coat of tipcoat polish, harden under the light (as in previous steps, do your thumb separately).
12) Clean your nails with the "before/after cleaner" and voilà! You're done. Your manicure will las 2-3 weeks. ☺
Inga kommentarer:
Skicka en kommentar